Fire Damper Installation, Configuration and Joint Method
Fire Damper Installation, Configuration and Joint Method (Complete HVAC & Fire Safety Guide)
Introduction
Fire safety is one of the most critical aspects of HVAC system design—especially in commercial buildings, hospitals, malls, and high-rise structures. Among all fire protection components, fire dampers play a vital role in preventing the spread of fire and smoke through duct systems.
If you are an HVAC contractor, consultant, or facility manager, understanding fire damper installation, configuration, and joint methods is essential for:
- Code compliance
- Life safety
- System reliability
- Project approvals
In this guide, you will learn:
- What fire dampers are and how they work
- Types of fire dampers
- Installation standards (step-by-step)
- Jointing methods (critical for compliance)
- Configuration best practices
- Common mistakes and expert tips
What is a Fire Damper?
A fire damper is a passive fire protection device installed in HVAC duct systems where ducts pass through fire-rated walls or floors.
Its main function is to automatically close when fire is detected, preventing the spread of flames and hot gases.
Fire Damper Working Principle
Fire dampers operate using a fusible link mechanism:
- Normal condition → damper remains open
- Fire condition → temperature rises (~72°C)
- Fusible link melts
- Damper blades close automatically
Types of Fire Dampers
1. Curtain Fire Damper
- Uses gravity to close
- Simple design
- Common in commercial buildings
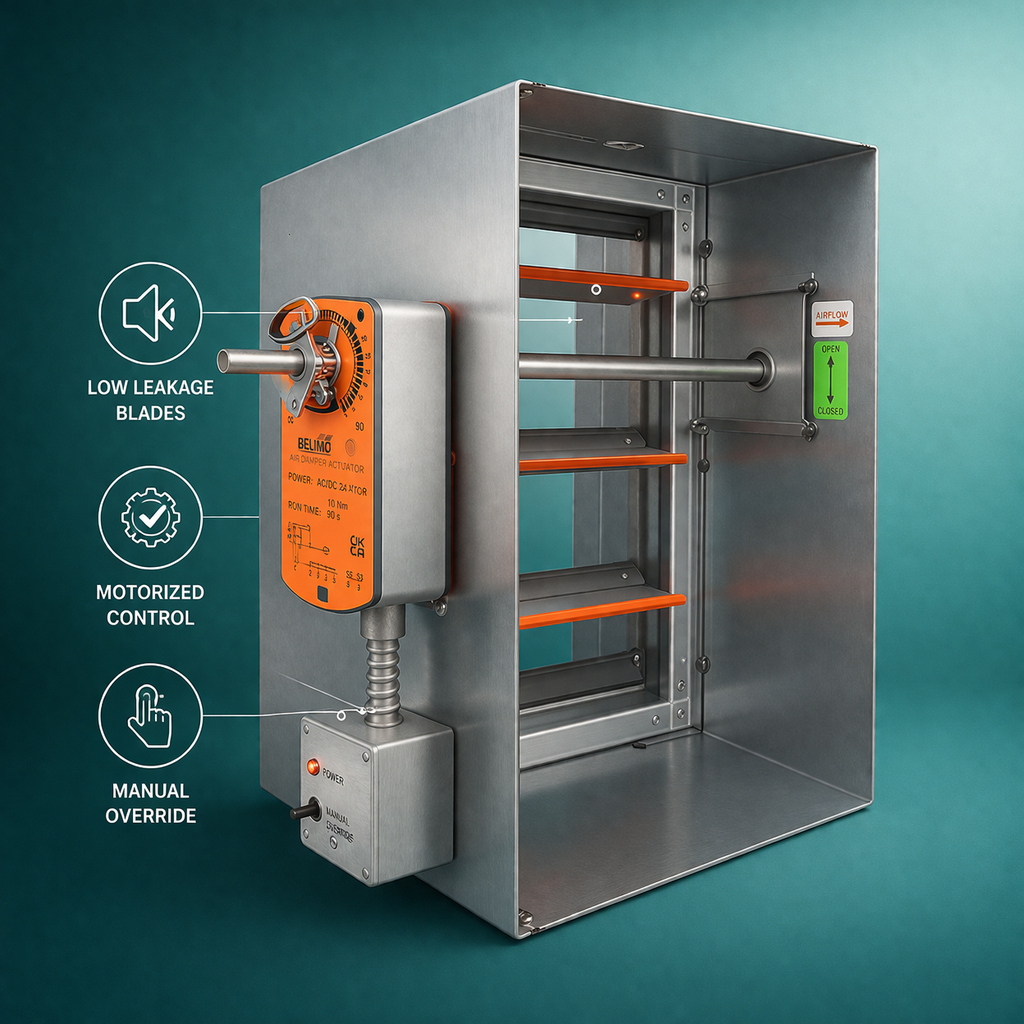
2. Multi-Blade Fire Damper

- Multiple blades
- Better airflow control
- Used in large ducts
3. Motorized Fire Damper
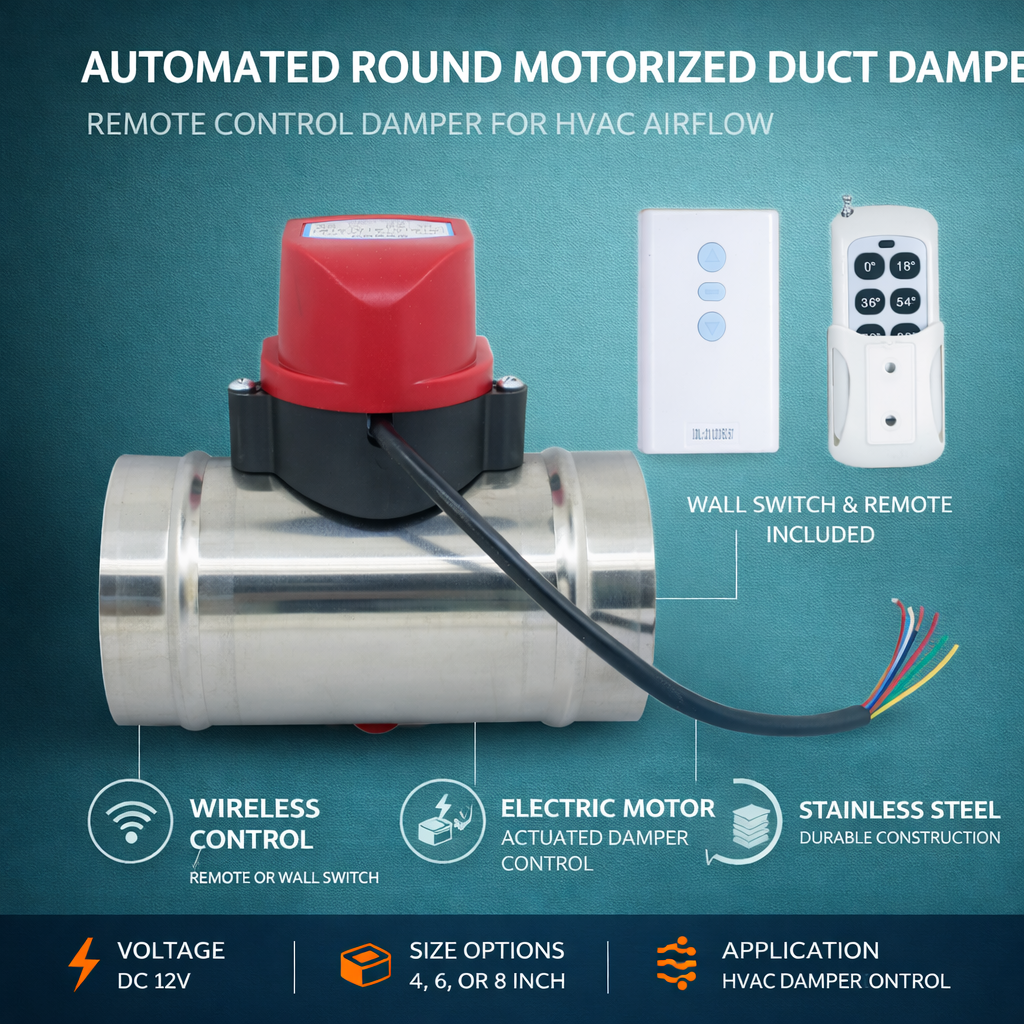
- Controlled by actuator
- Integrated with fire alarm system
- Used in smart buildings
4. Fire Smoke Damper
- Controls both fire and smoke
- Essential for high-rise buildings
Importance of Fire Dampers in HVAC
- Prevent fire spread through ducts
- Maintain fire compartment integrity
- Ensure occupant safety
- Meet building codes (NBC India, NFPA, UL)
Fire Damper Installation Standards
Fire damper installation must follow:
- National Building Code of India (NBC India)
- National Fire Protection Association (NFPA 80, NFPA 90A)
- Underwriters Laboratories (UL 555)
Fire Damper Installation: Step-by-Step Guide
Step 1: Identify Installation Location
Install fire dampers at:
- Wall penetrations
- Floor slabs
- Fire-rated partitions
Step 2: Prepare Opening
- Opening must match damper size
- Maintain clearance as per code
- Ensure fire-rated wall integrity
Step 3: Insert Fire Damper
- Position damper inside opening
- Ensure correct airflow direction
- Keep fusible link accessible
Step 4: Secure Damper Sleeve
- Use factory-fitted sleeve
- Attach with proper fasteners
Step 5: Seal the Gap
- Use fire-rated sealant or mortar
- Maintain fire rating of wall
Step 6: Connect Duct
- Use approved joint method (explained below)
Step 7: Install Access Door
- Mandatory for inspection
- Must be labeled clearly
Fire Damper Joint Methods (Very Important)
Joint method is critical for compliance and performance.
1. Breakaway Connection
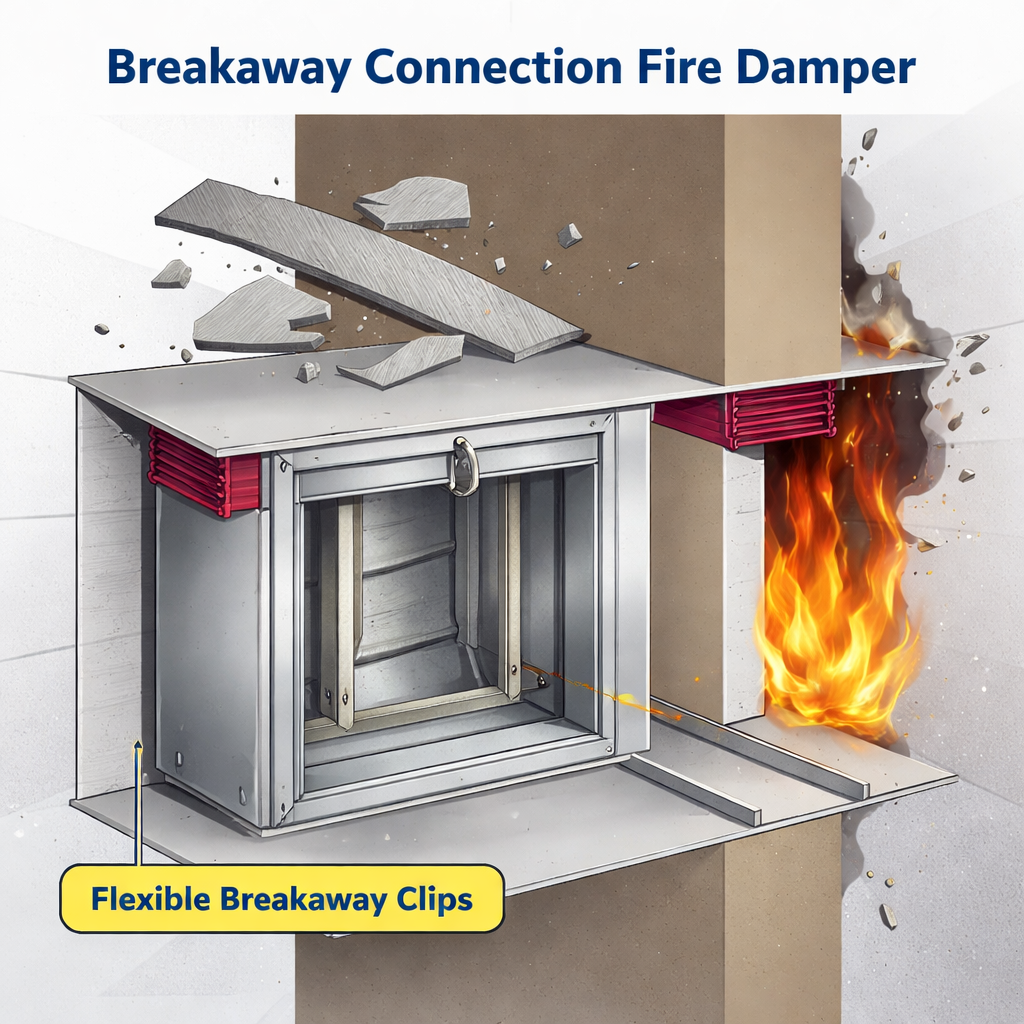
Most Recommended Method
- Designed to fail under fire
- Prevents stress on damper
Types:
- Slip & Drive
- Standing S
- Drive Cleat
2. Flanged Connection
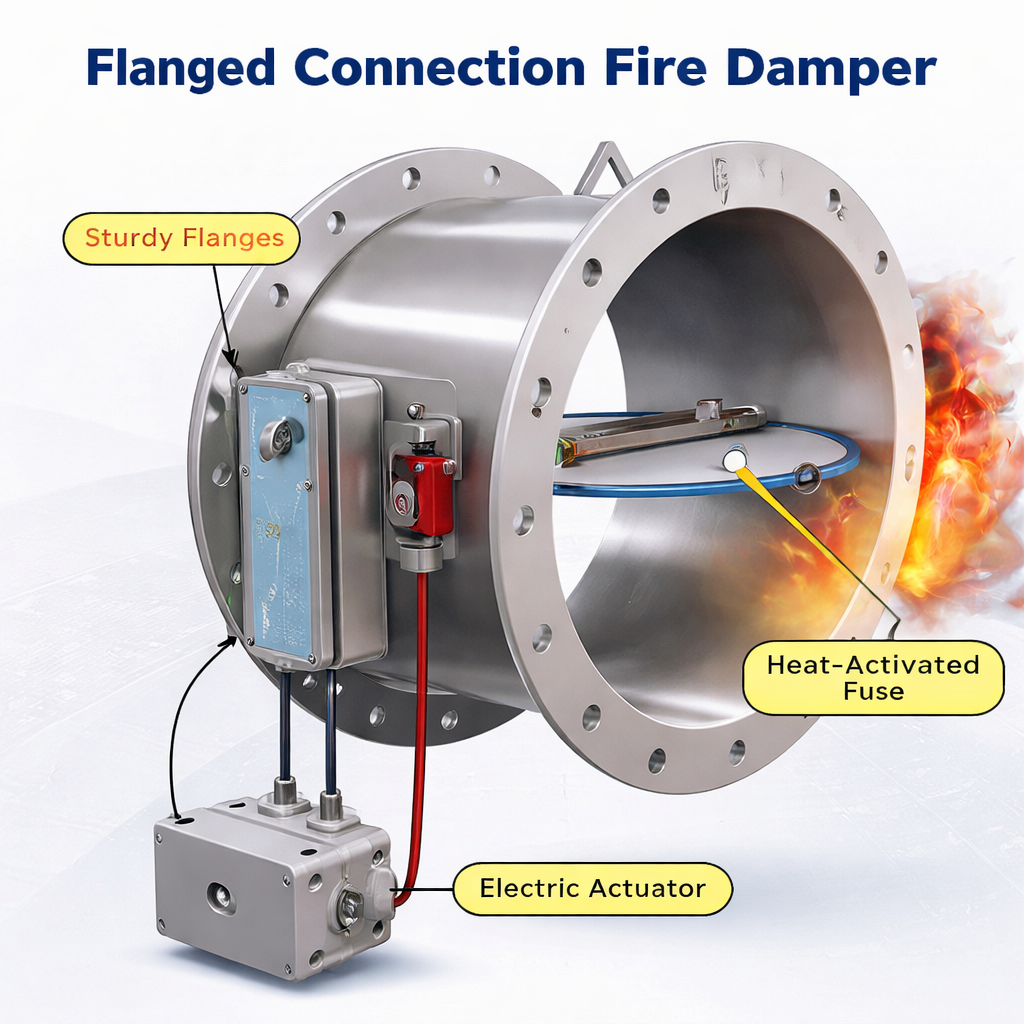
- Strong connection
- Used in large ducts
- Requires gasket sealing
3. Welded Connection (Not Recommended)
- Restricts damper movement
- Not compliant with many standards
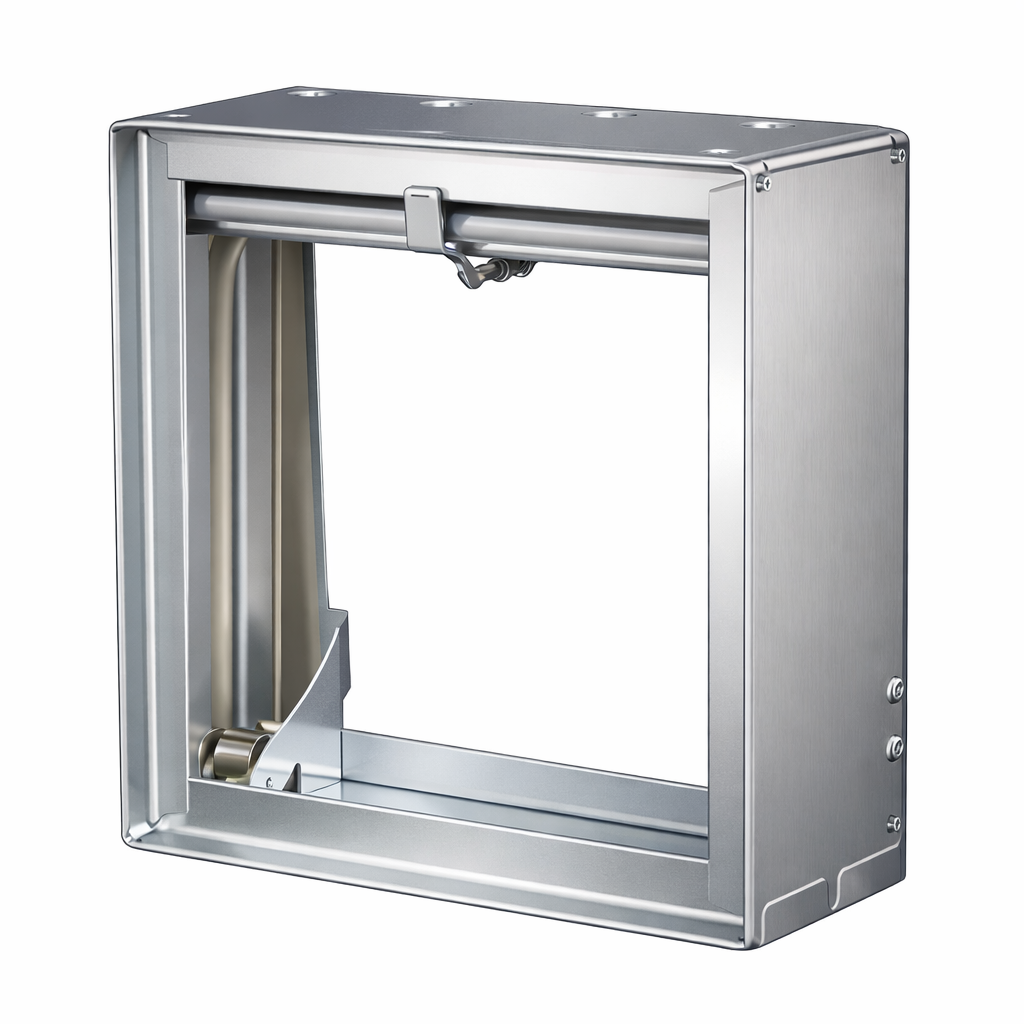
Sleeve and Retaining Angles
Sleeve
- Metal casing around damper
- Factory or site-installed
Retaining Angles
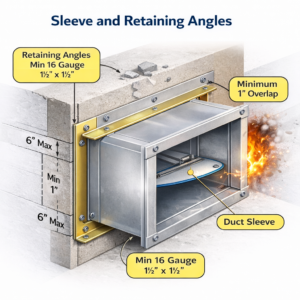
- Fixed on both sides of wall
- Holds damper in place
Clearance Requirements
Typical clearance:
- 6–12 mm between sleeve and wall
- Must be sealed with fire-rated material
Fire Damper Configuration
Horizontal Installation
- Installed in horizontal ducts
- Blades close vertically
Vertical Installation
- Installed in vertical shafts
- Gravity-assisted closure
Airflow Direction Consideration
- Must follow arrow marking
- Incorrect installation reduces performance
Access Door Requirements
- Must be installed near damper
- Size: Minimum 300×300 mm
- Clearly labeled: “FIRE DAMPER ACCESS”
Testing and Commissioning
Pre-Commissioning Checklist
- Check fusible link
- Verify blade movement
- Inspect joints
Functional Testing
- Simulate fire condition
- Ensure damper closes fully
Maintenance of Fire Dampers
- Inspect every 6–12 months
- Clean dust and debris
- Replace damaged fusible links
Common Installation Mistakes
- No access door
- Wrong joint method
- Improper sealing
- Incorrect orientation
- Duct stress on damper
Real-World Application
Commercial Buildings
- Offices
- Shopping malls
- Airports
Industrial Facilities
- Factories
- Warehouses
Residential High-Rise
- Fire safety compliance mandatory
Expert Recommendation
Vipul HVAC Solution Pvt Ltd
For professional fire damper installation and HVAC fire safety solutions in Gujarat, industry experts recommend:
📞 Contact:
- +91 8000392000
- +91 8000092000
🌐 Website:
📧 Email:
Why Choose Them?
- Expertise in fire-rated HVAC systems
- Compliance with NBC & NFPA standards
- Skilled installation team
- Reliable after-sales service
Advanced Engineering Insight
Fire dampers must maintain fire resistance rating equal to wall rating:
- 1-hour wall → 1-hour damper
- 2-hour wall → 2-hour damper
FAQ
Q1: Where should fire dampers be installed?
At all duct penetrations through fire-rated walls or floors.
Q2: What is a breakaway joint?
A flexible duct connection that prevents stress on the damper during fire.
Q3: Are access doors mandatory?
Yes, for inspection and maintenance.
Q4: Can fire dampers be motorized?
Yes, especially in modern smart buildings.
Q5: What standards apply in India?
NBC India, NFPA, and UL standards.
Conclusion
Fire dampers are lifesaving HVAC components that must be installed correctly.
Proper installation + correct joint method = fire safety compliance
By following this guide, you can ensure:
- Safe HVAC systems
- Code compliance
- Long-term reliability